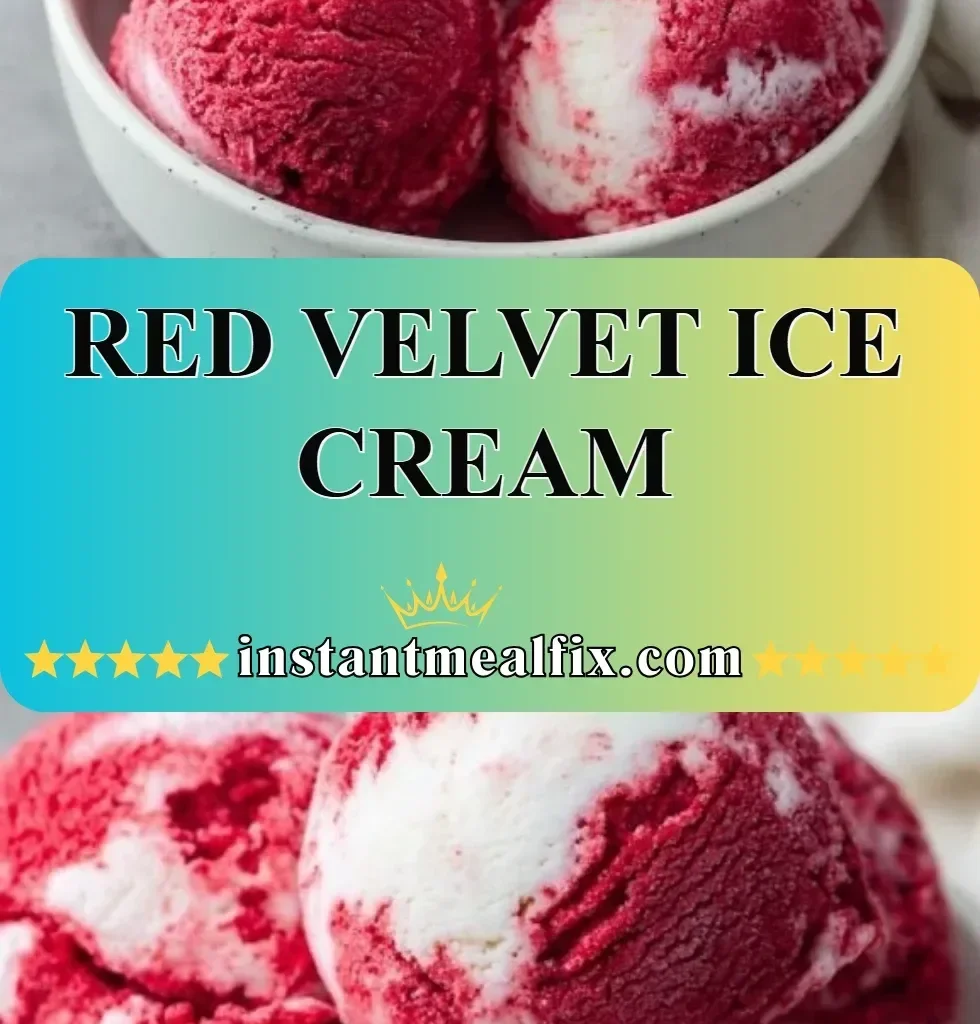
I still remember the first time I tasted Red Velvet Ice Cream. It was one of those hazy summer evenings in Asheville, where the mountains cradled the golden sun as it dipped below the horizon. I was rummaging through the freezer, hoping to find something to cool off with, when I stumbled upon a pint of that striking crimson treat. I had never seen anything like it! The deep red hue was enchanting, bringing to mind memories of my grandmother’s famous red velvet cake—rich, velvety, and subtly sweet, with a hint of cocoa in the background.
As I scooped that velvety goodness into a bowl, the texture was just as I imagined: creamy, buttery, and dreamy. The first bite took me back to her kitchen, where we would bake together, laughter echoing off the walls while flour dusted our hair and aprons. Red Velvet Ice Cream had the power to capture those moments, blending nostalgia with a rush of sweetness that felt like a warm hug. Each mouthful transported me to simpler times, pulling up memories of family gatherings where desserts were the centerpiece, and joy reigned in abundance. It felt like magic, and I knew right then this would become a beloved family tradition.
Flavor and Popularity
The Unique Flavor Profile of Red Velvet Ice Cream
Red Velvet Ice Cream is more than just a visually stunning dessert; it embodies a unique flavor profile that dances on your taste buds. At its core, the base combines buttermilk and cream, creating a creamy canvas reminiscent of the traditional cake. The earthiness of cocoa powder adds depth, while a touch of vanilla perfectly rounds out the experience. The playful splash of red food coloring not only perks up the appearance but also adds to the excitement of each spoonful.
While the richness of the ice cream is undoubtedly divine, it’s the delicate balance of flavors that truly sets it apart. Each bite feels like a celebration, marked by a light tang from the buttermilk that cuts through the sweetness, making it wonderfully refreshing on warmer days. Incorporating bits of cream cheese into your mixture offers a tangy whisper of cheesecake that elevates this treat to new heights, transforming every scoop into an indulgence.
Why This Recipe Is a Family Favorite and Crowd-Pleaser
When it comes to gatherings, Red Velvet Ice Cream effortlessly steals the spotlight. Whether it’s a summer barbecue or a cozy fall gathering, this dessert is the perfect conversation starter and crowd-pleaser. Guests are drawn to the striking color and creamy texture, often reaching for second helpings, which makes it a hit with both kids and adults alike.
For my family, this treat is more than just a dessert; it holds sentimental value. It’s a bridge that connects generations. The recipe has been passed down, with each family member adding their unique touch to make it their own. This adaptability allows everyone to enjoy the same indulgence while putting their mark, whether by adding crushed chocolate cookies or a swirl of caramel sauce. It fosters connections and creates memories that last a lifetime.
Ingredients and Preparation
Essential Ingredients and Possible Substitutions
To create the perfect Red Velvet Ice Cream, gather the following ingredients:
- Heavy Cream: This provides that rich, creamy texture that makes ice cream so delightful.
- Sweetened Condensed Milk: For sweetness and to help the ice cream stay smooth.
- Buttermilk: It adds tanginess and a creamy base.
- Unsweetened Cocoa Powder: This is key to achieving that classic red velvet flavor.
- Red Food Coloring: A few drops will create that vibrant hue.
- Vanilla Extract: For depth of flavor.
- Cream Cheese: (optional, but highly recommended) This adds a lovely tang and a texture reminiscent of cheesecake.
If you’re looking for substitutions, fear not! You can swap heavy cream for coconut cream for a dairy-free version. If you’re out of buttermilk, make your own by mixing milk with a tablespoon of vinegar or lemon juice. For a lighter option, consider using yogurt instead of cream cheese, which still provides a delightful tang without the richness.
Step-by-Step Recipe Instructions with Tips
- Combine Creams: In a large mixing bowl, whisk together the heavy cream, sweetened condensed milk, and buttermilk until well combined. This base is essential for creaminess.
- Incorporate Cocoa and Coloring: Sift in the cocoa powder, mixing thoroughly to combine. Then, add the red food coloring—start with a small amount and adjust until you reach your desired hue.
- Flavor it Up: Stir in the vanilla extract and, if desired, the cream cheese until smooth. This is where you can get creative—feel free to fold in mix-ins like crushed cookies or chocolate chips at this stage.
- Chill the Mixture: Cover the bowl and refrigerate the mixture for at least an hour. This helps improve the flavor and ensures a super smooth consistency.
- Churn in Ice Cream Maker: Once chilled, pour the mixture into your ice cream maker and churn according to the manufacturer’s instructions. This usually takes about 20-25 minutes.
- Freeze and Firm Up: After churning, transfer the ice cream to an airtight container and freeze for at least 4 hours to firm up.
- Serve and Enjoy: Scoop into bowls and enjoy the rich, velvety goodness of your homemade ice cream!
Cooking Techniques and Tips
How to Cook Red Velvet Ice Cream Perfectly
The key to achieving the perfect texture lies in the churning process. Make sure your ice cream maker is pre-frozen as per the manufacturer’s instructions; this guarantees the mixture freezes quickly and evenly. Don’t skip the chilling step before churning—this not only enhances the flavors but also contributes to a smoother texture. If you like your ice cream soft-serve style, feel free to enjoy it right after churning, but for that scoopable texture, be patient and let it firm up in the freezer.
Common Mistakes to Avoid
One common mistake I see is not using enough sugar; sweetness is essential for balancing the flavors, especially with the cocoa powder. Another pitfall is over-churning. Ice cream can become icy if churned too long, so keep an eye on it! Lastly, avoid skimping on the mixing time of the buttermilk and cream—ensuring they’re well combined is crucial to a harmonious blend!
Health Benefits and Serving Suggestions
Nutritional Value of Red Velvet Ice Cream
While indulgent, Red Velvet Ice Cream carries some nutritional value as well, particularly if you incorporate wholesome ingredients. The buttermilk adds calcium and the cream provides fat-soluble vitamins. Depending on your choices, you can also control the sweetness and fat content to fit your dietary needs—substituting in lighter options offers a chance to enjoy this dessert guilt-free.
Best Ways to Serve and Pair This Dish
When it comes to serving, the presentation is key! Serve the ice cream in elegant bowls or waffle cones, garnished with a drizzle of chocolate sauce or a dollop of whipped cream to add that extra indulgent touch. Don’t forget a sprinkle of crushed nuts or chocolate shavings for a delightful crunch. Pair it with a slice of red velvet cake for an ultimate dessert feast or serve it alongside fresh berries for a refreshing contrast.
FAQ Section
What type of mushrooms are best for Red Velvet Ice Cream?
While Red Velvet Ice Cream doesn’t traditionally include mushrooms, if you find yourself wanting to add a unique savory element, consider using earthy varieties such as shiitake or cremini. However, this might be more experimental than typical.
Can I use dried garlic instead of fresh?
Although garlic isn’t a common ingredient in ice cream, if you’re looking to add a little savory twist perhaps in another dish, dried garlic can work well, but its potency varies. I’d suggest sticking to fresh for a vibrant flavor.
How do I store leftover Red Velvet Ice Cream?
Store your leftover ice cream in an airtight container and place a layer of plastic wrap directly on the surface to minimize ice crystals forming. It should keep well in the freezer up to a month—if it lasts that long!
Can I freeze Red Velvet Ice Cream?
Absolutely! After churning and mixing, freeze the Red Velvet Ice Cream to set properly. Allow it to stay in the freezer for a few hours for the best scoopable texture.
As I reflect on these cherished moments, I invite you to create your own with this delightful recipe. If you’re like me, you’ll enjoy the beautiful blend of nostalgia and flavor that Red Velvet Ice Cream brings. There’s something comforting about making it for family and friends, knowing each scoop carries love and warmth. Trust me, you’ll want to make this again and again, making sweet memories along the way. So, gather your ingredients, start blending, and let the magic unfold!
Print
Red Velvet Ice Cream
A luscious and creamy Red Velvet Ice Cream that captures the flavors of the classic cake, perfect for summer evenings and family gatherings.
- Total Time: 240 minutes
- Yield: 6 servings
Ingredients
- 2 cups Heavy Cream
- 1 cup Sweetened Condensed Milk
- 1 cup Buttermilk
- ½ cup Unsweetened Cocoa Powder
- Red Food Coloring (to desired hue)
- 1 tsp Vanilla Extract
- 4 oz Cream Cheese (optional)
Instructions
- In a large mixing bowl, whisk together the heavy cream, sweetened condensed milk, and buttermilk until well combined.
- Sift in the cocoa powder and mix thoroughly. Add the red food coloring and adjust to your desired color.
- Stir in the vanilla extract and cream cheese until smooth. Feel free to add any mix-ins at this stage.
- Cover the bowl and refrigerate the mixture for at least 1 hour.
- Pour the chilled mixture into your ice cream maker and churn according to the manufacturer’s instructions (usually about 20-25 minutes).
- Transfer the ice cream to an airtight container and freeze for at least 4 hours to firm up.
- Scoop into bowls and enjoy!
Notes
For a dairy-free version, substitute heavy cream with coconut cream and buttermilk with a milk-vinegar mixture. Serve with chocolate sauce or whipped cream for added indulgence.
- Prep Time: 15 minutes
- Cook Time: 0 minutes
- Category: Dessert
- Method: Churning
- Cuisine: American
- Diet: Vegetarian