There’s something so magical about the Easter season—the flowers blooming, the air filled with the sweet scent of spring, and, of course, the joy of sharing delicious treats with family. I vividly remember the first time I made Easter Dirt Cups with my grandkids. We gathered around the kitchen table, laughter echoing off the walls, our hands sticky with chocolate pudding and crushed Oreos. As we layered the ingredients in clear cups, I realized these treats were more than just dessert; they were a canvas for creativity and an opportunity to connect.
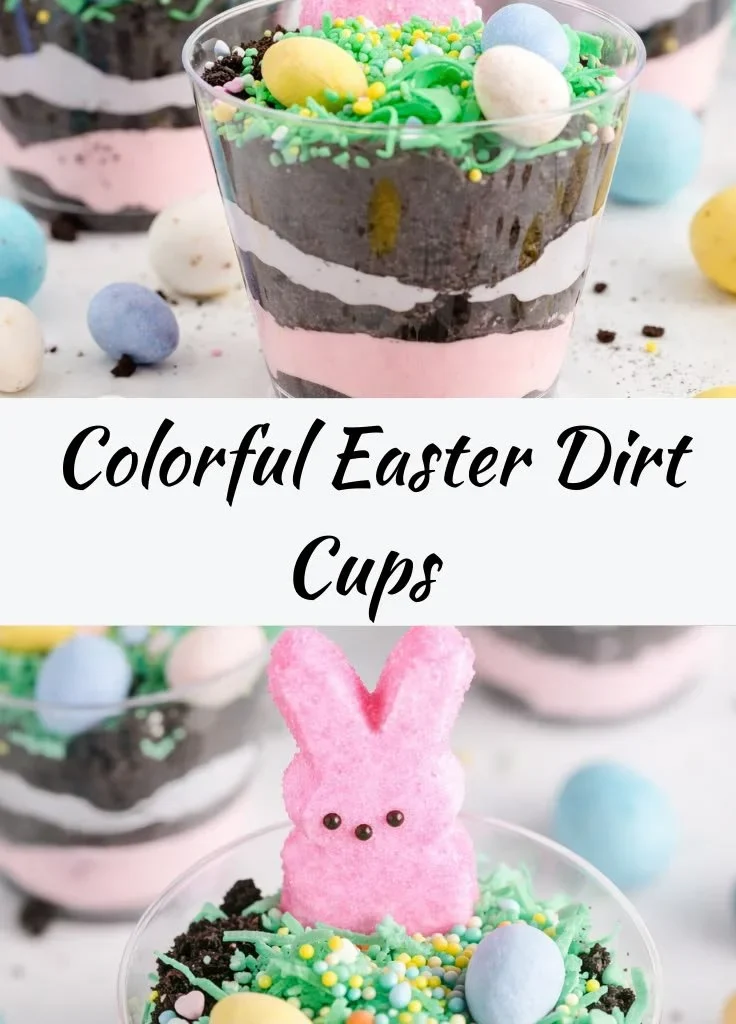
Easter Dirt Cups | Fun, Colorful, and Delicious Treats became an instant family favorite, with smiles plastered on everyone’s faces as we topped them with gummy worms and colorful sprinkles. I watched my grandchildren’s eyes light up as they created their own little masterpieces. That warm connection, the joy of creating together, made every bite taste even sweeter.
Whenever I whip up these delightful cups, I’m transported back to that sunny kitchen filled with laughter and love. It’s a tradition that feels alive, breathing joy into our Easter celebrations and reminding us of the simple, colorful pleasures in life. If you’re looking to add some fun to your spring gathering, let me take you through all the delectable details of making these scrumptious Easter Dirt Cups.
Flavor and Popularity
The Unique Flavor Profile of Easter Dirt Cups | Fun, Colorful, and Delicious Treats
When it comes to the flavor profile of Easter Dirt Cups, we’re diving into a delightful blend of textures and tastes. Each spoonful brings a harmonious marriage of sweet and earthy flavors, where creamy chocolate pudding meets the crunchiness of crushed Oreos. The chocolate flavor comes rich and decadent, with a slight hint of vanilla that makes it all the more delightful. Then you have the whimsical addition of gummy worms and vibrant sprinkles, combining sweetness with playful colors that evoke the joy of childhood.
One of the most charming aspects of these cups is their versatility. You can customize them to suit your taste and preferences—consider adding layers of whipped cream or incorporating fresh berries for a refreshing twist. If you’re feeling adventurous, even a hint of mint or a sprinkle of sea salt can elevate the flavor profile, creating a balance that keeps each bite exciting.
Why This Recipe Is a Family Favorite and Crowd-Pleaser
These delightful Easter Dirt Cups draw everyone in—from toddlers to grandparents. They resonate with the nostalgia of childhood, bringing back memories of carefree days spent outside in the spring sunshine. What’s more, they’re incredibly simple to make, which means that everyone, no matter their cooking skills, can join in the fun.
This recipe turns your kitchen into a fun-filled experience, inviting each family member to express their personality through layers and toppings. It’s easy to see why they are beloved at gatherings: they foster connections, inspire creativity, and, most importantly, taste delicious!
Ingredients and Preparation
Essential Ingredients and Possible Substitutions
To make these Easter Dirt Cups, you will want to gather a few essential ingredients. Here’s what you’ll need:
- Chocolate pudding (instant or homemade): This creamy base is essential for that delightful texture.
- Crushed Oreo cookies: These serve as both a crunchy base and a fun topping, mimicking the "dirt."
- Gummy worms: A playful and colorful garnish that adds whimsy.
- Whipped cream or Cool Whip: For adding lightness and a creamy layer.
- Sprinkles: Brighten the cups and enhance the festive feel.
If you have dietary restrictions, substitutions are a breeze! For a lighter option, feel free to use sugar-free pudding or homemade pudding with a plant-based milk. You can also swap Oreos with gluten-free chocolate cookies for a gluten-conscious dessert. Want to amp up the flavor? Try adding a layer of fresh fruit, like strawberries or blueberries, which goes beautifully with the chocolate pudding.
Step-by-Step Recipe Instructions with Tips
-
Prepare Your Pudding: If you’re using instant pudding, combine it with cold milk according to package instructions, whisking until it thickens. If you’re feeling ambitious, try making your own homemade chocolate pudding for that extra touch of love!
-
Crush the Oreos: Place the Oreos in a plastic bag and crush them using a rolling pin or your hands until they resemble coarse crumbs. Reserve some for sprinkling on top.
-
Layer the Ingredients: In clear cups or bowls, layer a generous amount of chocolate pudding at the bottom, followed by a layer of crushed Oreos.
-
Add Gummy Worms and Whipped Cream: Spoon a layer of whipped cream over the Oreos, then add more pudding, and repeat the layering until you reach the top. Finally, finish with a sprinkle of crushed Oreos, gummy worms, and a pop of colorful sprinkles.
-
Chill Before Serving: For the best flavor, let the cups chill in the refrigerator for at least one hour before serving, so all the layers meld perfectly together.
Cooking Tip: The secret to getting perfect layers is to gently tap the cups on the counter before refrigerating, settling the ingredients beautifully.
Cooking Techniques and Tips
How to Cook Easter Dirt Cups | Fun, Colorful, and Delicious Treats Perfectly
Making the perfect Easter Dirt Cups is all about patience and attention to detail. Choose clear cups or jars that show off each colorful layer beautifully. Layering is key here; don’t rush it! Adding whipped cream gives a creamy lightness, while the Oreos must be finely crushed to provide that satisfying crunch.
To keep it easy, prep everything beforehand—measure the pudding and crush the cookies before you start assembling, so it becomes a fun assembly line for the family!
Common Mistakes to Avoid
One common mistake is overmixing the pudding. If you’re using instant pudding, over-whisking can lead to a grainy texture, so whip until thickened, and then stop. Be careful not to crush the Oreos into a fine powder—they should maintain some texture for that delightful crunch. Lastly, remember to let those cups chill, as the flavors meld and the pudding firms up.
Health Benefits and Serving Suggestions
Nutritional Value of Easter Dirt Cups | Fun, Colorful, and Delicious Treats
While we indulge in these delightfully rich treats, it’s worth noting the nutritional aspect. Each ingredient can boast its own health benefits. For instance, chocolate pudding offers antioxidants, and while Oreos aren’t necessarily health food, you can choose varieties with fewer ingredients or that are lower in sugar. Add fresh fruit layers, and you can turn your Dirt Cups into a slightly healthier treat!
Best Ways to Serve and Pair This Dish
The beauty of Easter Dirt Cups lies in their presentation and flexibility. Set them up in a festively decorated table with colorful Easter eggs or floral decor. You can serve them alongside a fruit platter or a light spring salad to balance out the sweetness. For beverages, consider pairing these cups with a refreshing lemonade or iced tea, offering a perfect contrast to the rich dessert.
FAQ Section
What type of mushrooms are best for Easter Dirt Cups | Fun, Colorful, and Delicious Treats?
In this context, mushrooms aren’t actually part of the recipe for Easter Dirt Cups. The term "dirt" refers to the crushed Oreos, so you can leave the mushrooms out entirely for this delightful treat.
Can I use dried garlic instead of fresh?
Again, garlic isn’t an ingredient in Easter Dirt Cups. This recipe relies on the sweetness of chocolate and the fun of toppings rather than savory elements.
How do I store leftover Easter Dirt Cups | Fun, Colorful, and Delicious Treats?
If you have any leftovers (which might be rare!), store your cups in the refrigerator, covered with plastic wrap. Enjoy them within two to three days for the best flavor and texture.
Can I freeze Easter Dirt Cups | Fun, Colorful, and Delicious Treats?
While freezing is an option, it may affect the texture of the whipped cream and pudding. For optimal results, enjoy these cups fresh or stored in the fridge.
In closing, I invite you to dive into the joy of making Easter Dirt Cups | Fun, Colorful, and Delicious Treats with your loved ones. If you’re like me and appreciate the simple moments spent in the kitchen, I assure you that these delightful treats will bring smiles and sparks of creativity. As you layer each ingredient, remember that food is more than just what we eat—it’s about the warmth and laughter shared around the table. So get your family together, let the creativity flow, and trust me, you’ll want to make this again and again. Happy Easter!
Print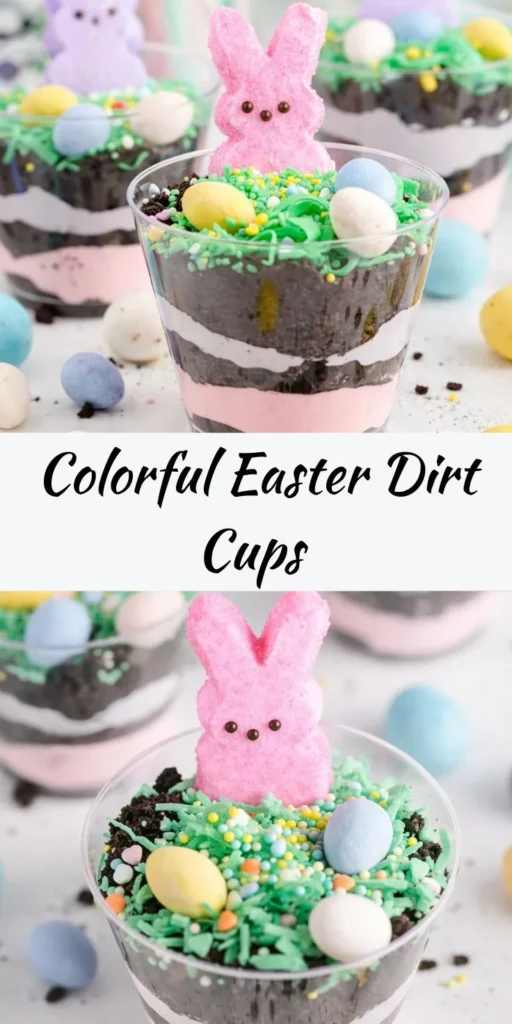
Easter Dirt Cups
Fun, colorful, and delicious treats that bring joy to Easter celebrations.
- Total Time: 60 minutes
- Yield: 4 servings
Ingredients
- 1 package chocolate pudding (instant or homemade)
- 1 package crushed Oreo cookies
- Gummy worms (for topping)
- Whipped cream or Cool Whip
- Sprinkles (for garnish)
Instructions
- Prepare your pudding: Combine instant pudding with cold milk according to package instructions, whisking until it thickens.
- Crush the Oreos: Place in a plastic bag and crush until resembling coarse crumbs.
- Layer the ingredients: In clear cups, layer chocolate pudding, followed by crushed Oreos.
- Add gummy worms and whipped cream: Spoon whipped cream over the Oreos, then add more pudding and repeat layering.
- Chill before serving: Let cups chill in the refrigerator for at least one hour.
Notes
Use clear cups for a beautiful presentation. Letting the cups chill helps the flavors meld.
- Prep Time: 15 minutes
- Cook Time: 0 minutes
- Category: Dessert
- Method: No-Cook
- Cuisine: American
- Diet: Vegetarian